
[vc_row][vc_column][vc_column_text]
Garage mold is a common summertime problem for homeowners in the Greater Philadelphia and Cherry Hill area due to higher temperatures and high humidity.
[/vc_column_text][/vc_column][/vc_row][vc_row][vc_column width=”1/2″][vc_column_text]
[/vc_column_text][/vc_column][vc_column width=”1/2″][vc_column_text]Because garages open to the outdoors, garage mold is one of the few kinds of mold infestation a homeowner can safely remove on their own.
Why?
Because you don’t need to build containment or apply negative air on the space.
However, there are several steps you need to take to remove garage mold safely:
1. First, find the water damage that caused the mold to grow.
Mold can’t grow without some kind of water source, so if you’ve found mold in your garage, it’s time to do a little detective work and repair the cause of the problem.
If you don’t do this first, any attempts to clean the mold will fail because it will simply grow back again.
Here’s where to look:
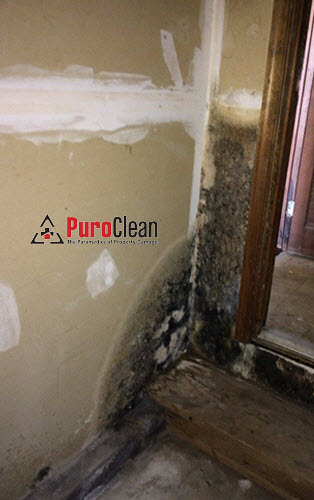
- If the mold in your garage is located on an inner wall that abuts to the interior of your home or on the ceiling, check for water leaks from the usual suspects –
sinks, dishwashers, toilets, hot water heaters, and washing machines – that may be slowly and silently leaking into the wall. Fix the leak and go to Step 2. - If the mold is located on an outer wall near a window, it means water is coming in through the casing.
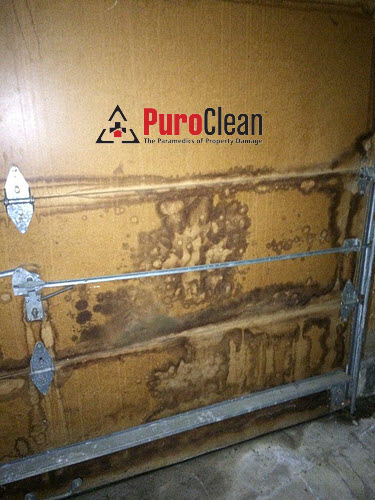
Make sure you check the seal and caulk any cracks inside and out. - If the mold is generalized on the walls and ceilings – in other words everywhere in the garage, or if it’s limited to just the garage door, it could be caused by over-the-ground flooding.
If that’s the case, you’ll need to call someone to correct the grading so that storm water no longer floods your garage when it rains.
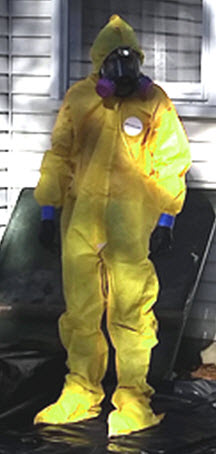
2. Make sure you get the right kind of safety equipment to keep yourself from getting sick while you remove the mold in your garage.
You’ll be leaving the garage door open during the process of clean up, but that doesn’t mean all the mold spores will politely cooperate and go outdoors where they belong.
Once disturbed, mold spores go everywhere and stick to everything: skin, hair, lungs, clothing.
What that means is that you need protective gear so you don’t get sick and won’t bring the contamination with you into your home.
Gloves, face mask and/or respirators, as well as Tyvek painter suits – the kind with hoods and booties – are all available at your local hardware store.
When you’re done cleaning the garage mold, you simply peel off the protective gear outside your home and discard it before you enter.
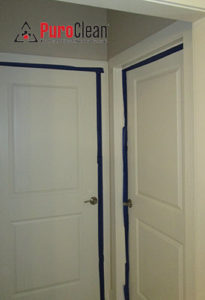
3. Now, seal off the door to your house from the garage with painter’s masking tape.
This step prevents the spread of the mold from the garage into your home.
It will also remind you not to enter your home by that door until you’ve done your decontamination process outside.
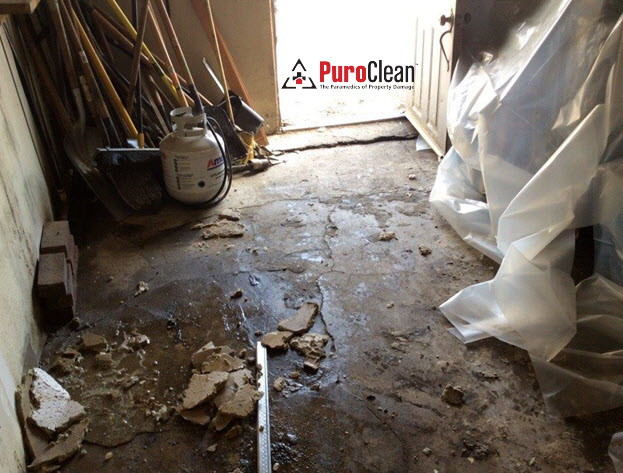
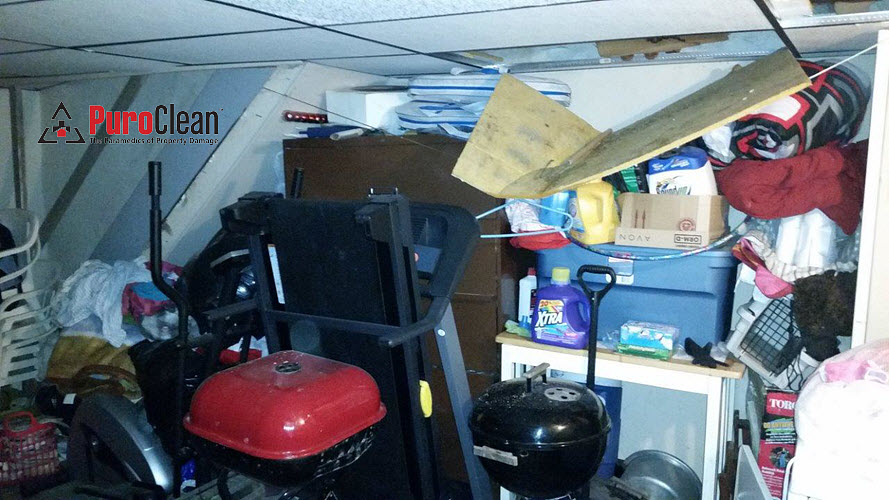
4. Now it’s time to clean out the garage.
You’ll need to remove all the clutter so you can work freely without accidents. It’s a great time to get rid of stuff you no longer need or want.
An added benefit: this step also helps to increase air circulation and dry out the garage.
Make sure you wipe down everything you choose to keep with an antimicrobial solution so you won’t bring the mold back into your garage after it’s clean.
Whatever you do don’t spray the antimicrobial directly on the contents of your garage! Doing so will just liberate more mold spores.
To keep this from happening, spray the antimicrobial solution directly onto your cloth or towel, then wipe down all of the contents top to bottom.
Once the contents are cleaned, cover them with plastic.[/vc_column_text][/vc_column][/vc_row][vc_row][vc_column][vc_column_text]
5. Now it’s time to get rid of the mold.
First, use a HEPA vacuum cleaner with a brush attachment and vacuum every area in the garage, walls, ceilings, floors – even the places you don’t see mold.
Remember: Because mold spores go everywhere, and they’re microscopic, it’s the mold you can’t see that causes the biggest problems. If you don’t do this step first, you’ll run the risk of missing areas of mold that will re-contaminate your garage after you’re done.
Make sure you use a vacuum cleaner that’s dedicated to this project alone and one you can throw away after the project is completed.
Whatever you do, don’t use a household vacuum cleaner inside your home after you’ve cleaned the mold in your garage or you’ll contaminate your living space.
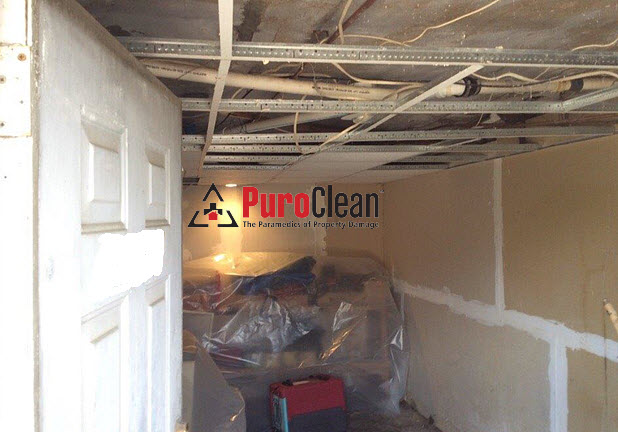
Now that it’s vacuumed, it’s safe to remove the areas with visible mold.
If you have a partially finished garage with drywall, you’ll need a mat knife or razor knife to score the wall board at least 2 feet above the visible area of mold growth.
Once the drywall is scored, use a pry bar to pull it away from the wall.
If there’s insulation behind the drywall, remove that too. Place these contaminated materials inside contractor grade plastic bags for disposal, seal them, and take them to the curb.
After you’ve removed the drywall and you see the bare studs, use the HEPA vacuum again to remove any mold spores sticking to the studs.
Next, use a cloth or towel soaked in antimicrobial solution – not bleach – and wipe down every area with the solution. Let it dry, then vacuum it again.
Now, use the HEPA vacuum to vacuum all surfaces again – ceilings, floors and walls- in your garage to remove the debris and any spores that might have settled during the removal process.
After you’re done with the mold removal, you’ll need to replace the dry wall – tape, spackle and paint – and replace ceiling tiles.
And then you’re done![/vc_column_text][vc_column_text]
You’ve safely removed the mold in your garage
[/vc_column_text][/vc_column][/vc_row][vc_row][vc_column][vc_column_text]
For questions about mold removal in your garage – or anywhere else in your home – give us a call at 877-750-7876
[/vc_column_text][/vc_column][/vc_row]